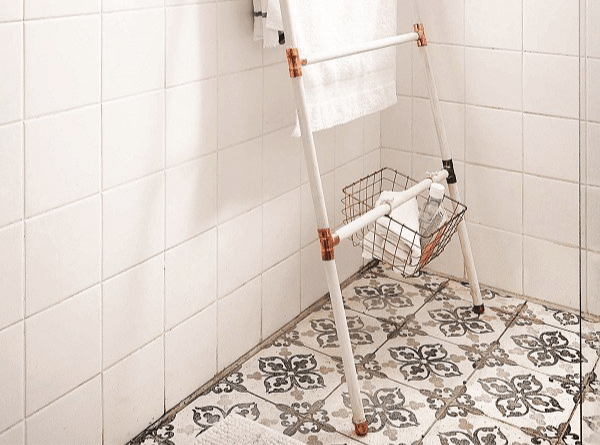
DIY: How to make a copper towel ladder in six easy steps
Updated | By Lifestyle Contributor
This DIY towel ladder is not only inexpensive but it takes less than an hour to make.

Are you looking for a DIY home project that is easy to make and looks like you bought it from a fancy decor store? Then Blogger Germarie Bruwer has just the thing for you.
She created a trendy copper towel ladder for Ideas Magazine. This inexpensive DIY project is a must try.
"Storage ladders are very popular and you can make this one in less than an hour with a few inexpensive goodies picked up from your local hardware store," she says.
"Best of all, you can use it in pretty much any room in your home! In the bathroom for towels, in the living room for blankets (perfect for the cooler weather setting in!), in the bedroom as a clothes hanger or in the kids’ room to store their multitude of paraphernalia. Here’s how to make your own trendy copper towel ladder."
ALSO READ: Must-know bedroom hacks for 2019
You will need:
- 5x wooden broom handles
- 100 grit sandpaper
- Plumber’s tape
- Paint (we used WondaSeal Stain & Seal in white) and a soft cloth for application
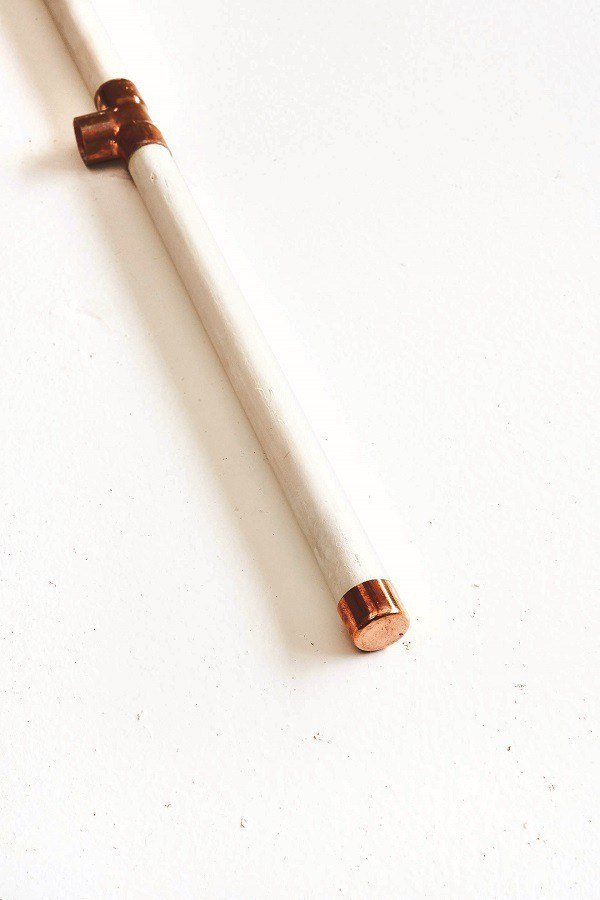
- 8x 22mm copper plumbing T-juntions
- 4x 22mm copper plumbing end caps
Step 1
Cut each of the 5 broom handles to the following lengths: 1x 480mm; 2x 400m

Step 2
If the broom handles are sealed, you will first need to remove the varnish with sandpaper. If they are unsealed, you can skip to step 3.

Step 3
Use the soft cloth to apply paint or wood stain to the wooden pieces. TIP: You can keep them upright when they’re wet by making them stand inside the pockets of a Styrofoam seedling tray!

Step 4
Use the plumber’s tape to bulk up the ends of the wooden pieces. You want them to fit very snug inside the copper fittings to prevent the ladder from being shaky once assembled. Make sure that the wood is pushed all the way into the fittings to secure them.

Step 5
Assemble the ladder by placing the 400mm pieces vertically into the copper t-junctions, with the 480mm pieces making up the rungs of the ladder. You are going to be left with one 480mm piece – if you prefer a taller ladder, you can just add another rung with 2 more T-juntions. Secure the end-caps on the top and bottom pieces.

Step 6
Using a carpet knife or craft knife, carefully trim any of the plumber’s tape that may be visible once all the pieces have been assembled.


ALSO READ: DIY: How to restore and old picture frame
Show's Stories
-
WARNING: Pretoria parents urged to beware of increase in chi
Here's what you need to know about the spike in child kidnappings in Pre...
Breakfast with Martin Bester 4 weeks, 1 day ago -
LISTEN: Rope Runner Marissa Groenewald's fight against human
The powerful reason Marissa is so passionate about 'rope running'.
Breakfast with Martin Bester 4 weeks, 1 day ago